So, the other day I had a bit of a DIY project – fixing a wonky door in my hallway. The hinges were loose, and the door was starting to scrape against the frame. Annoying, right? Turns out, the screws were the problem. They were all stripped and just spinning in place. Time for new screws!
Choosing the Right Screws
First things first, I grabbed the old screws and took them with me to the hardware store. I wanted to make sure I got the same size. I figured matching the length and thickness was the way to go. At the store, I showed the old screws to this guy who worked there, and he immediately knew what I needed.

- Length: I made sure the new screws were the same length as the old ones. Too short, and they wouldn’t grip. Too long, and they might poke through the other side of the door frame.
- Thickness:Same with thickness – got to match the old ones so they fit snugly in the hinge holes.
- Head Type: Most door hinge screws have a flat head that sits flush with the hinge. I stuck with that.
- MaterialThe hardware store guy recomended to use the steel stuff, which is strong, and would not get rusted easily.
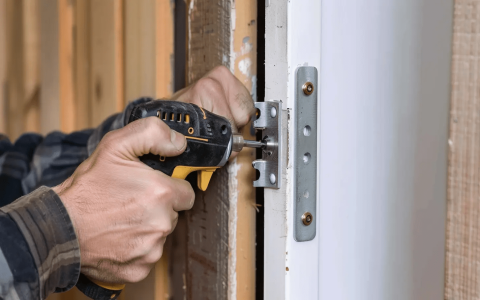
Getting the Job Done
Back home, I removed the old, useless screws. Some of them were really stuck, so I used a drill with a screw-extractor bit. That thing is a lifesaver! Then, I lined up the hinges with the frame and started putting in the new screws. I made sure to drive them in straight, not at an angle. You don’t want to mess up the threads.
It was pretty straightforward, actually. I just took my time and made sure each screw was nice and tight. The door felt solid again once I was done. No more scraping, no more sticking. Success!
Honestly, the hardest part was probably just making the trip to the hardware store. The actual screw-swapping was a breeze. And hey, I saved myself a call to a handyman, so that’s a win in my book!