Okay, here’s my attempt at a blog post, following your instructions and example:
Alright, so I finally tackled that Ballard Nutcracker House project I’ve been eyeing. You know, the one that everyone’s been buzzing about online? I wanted to see what all the fuss was about, and, well, let me tell you, it was a journey!
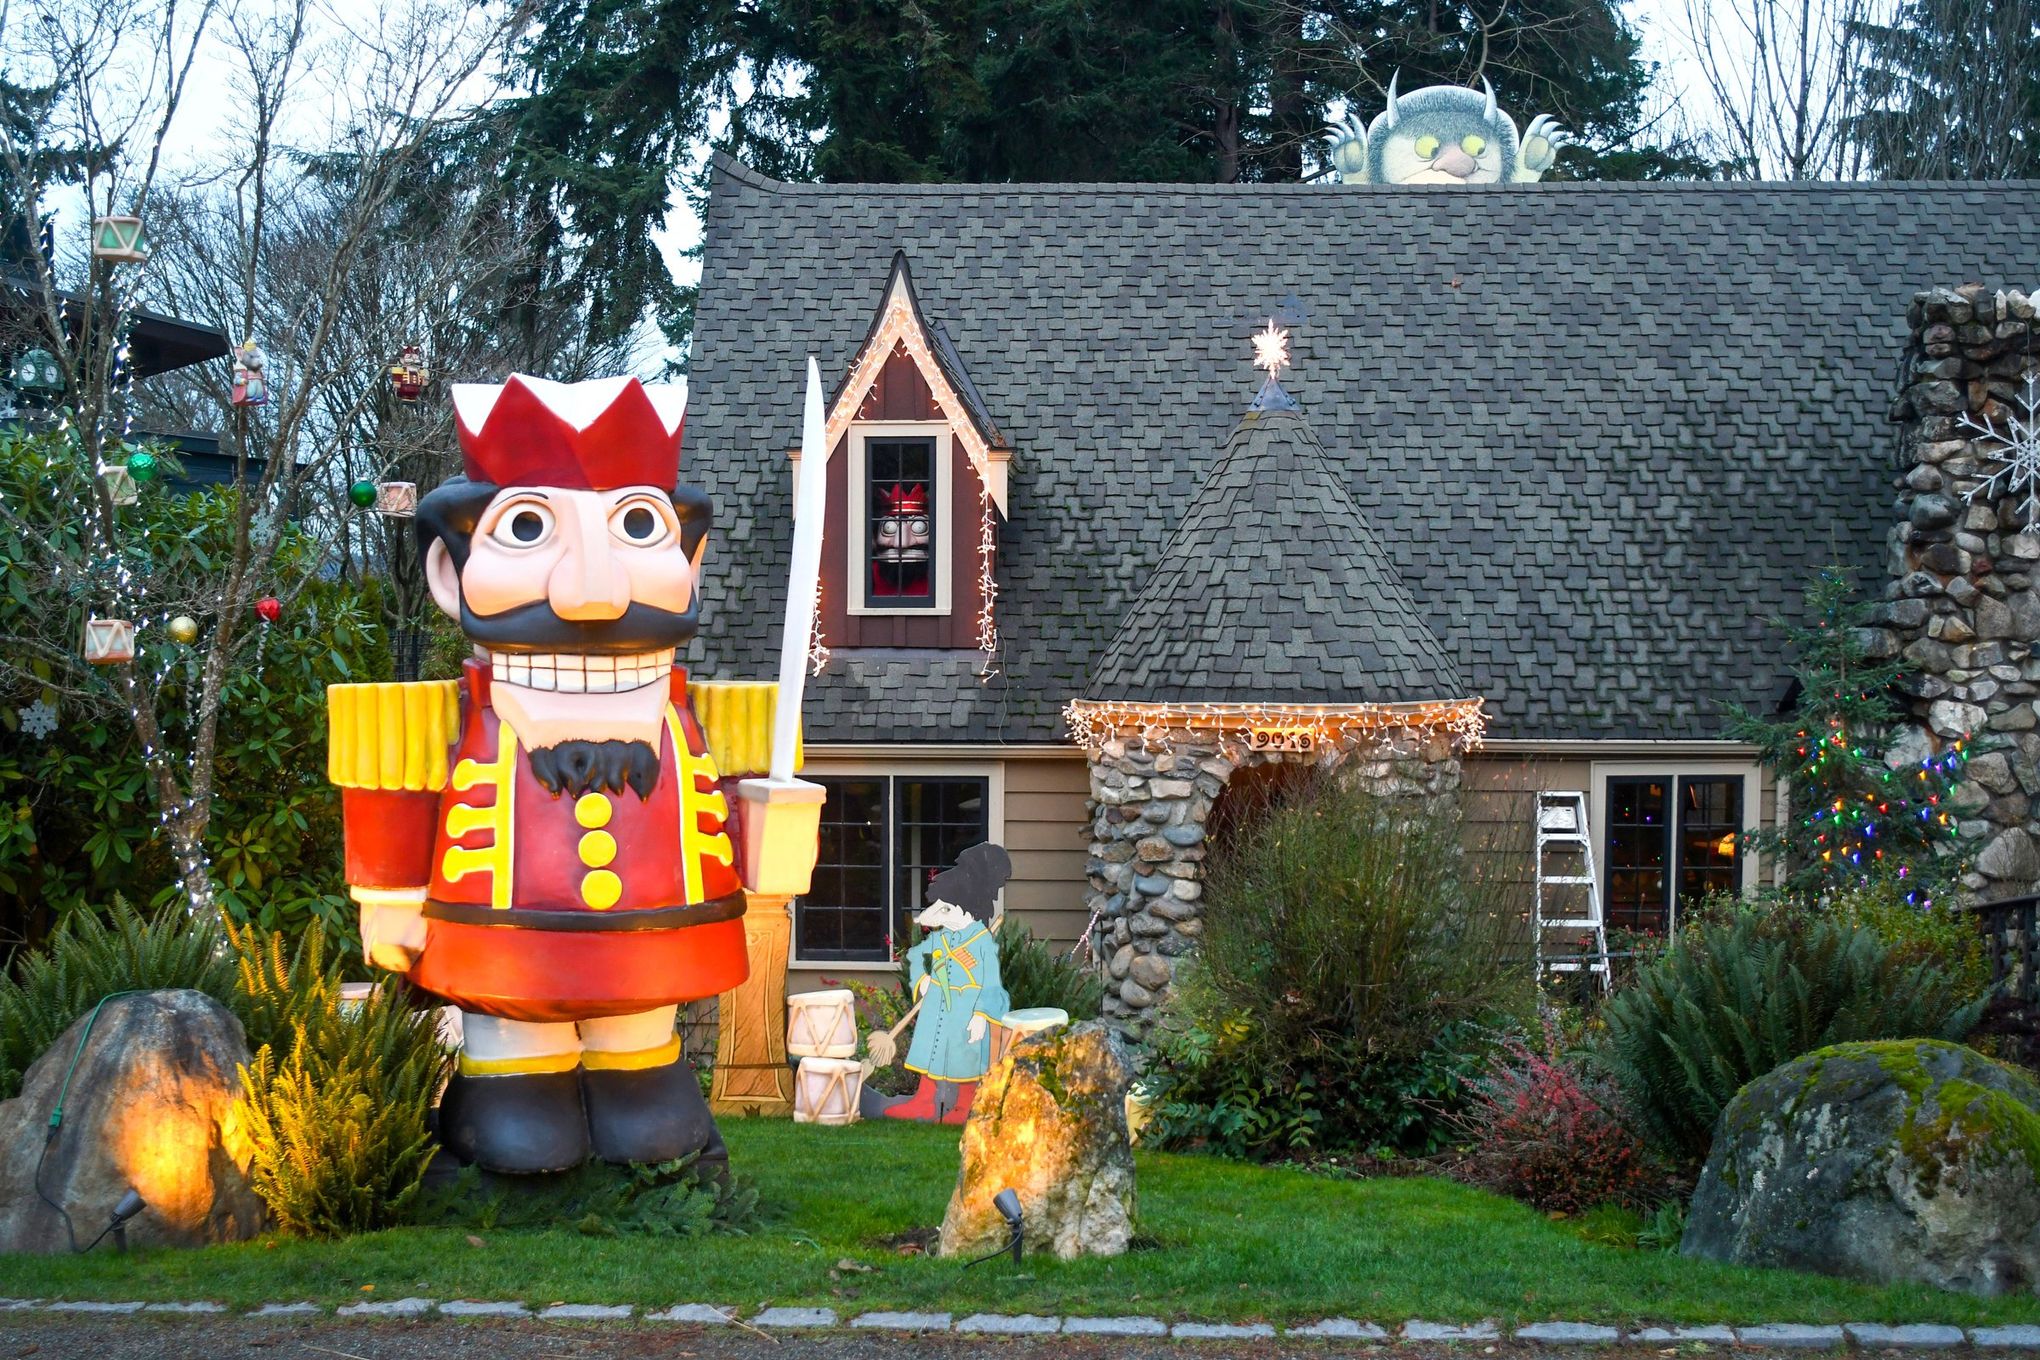
First things first, I had to get my hands on some pictures. Just to get a feel for the vibe, you know? I wanted to make sure mine has the same feels. I scoured the internet for pictures and videos.
Gathering My Supplies
After I had a solid idea of the layout, I had to gather my materials. It was a total mix-and-match situation. This is what I ended up using:
- Cardboard boxes: I raided the recycling bin for these. Different sizes, the more the merrier!
- Craft knife: Gotta be careful with this one, obviously. I almost sliced my finger a couple of times.
- Hot glue gun and glue sticks: My best friend for this kind of project. Seriously, I went through a ton of glue.
- Paint: I used acrylics because they dry fast. Reds, whites, browns… all the Christmas-y colors.
- Glitter: Because everything is better with glitter, right?
- Random bits and bobs: Buttons, bottle caps, popsicle sticks… whatever I could find around the house that looked like it might work.
Building the Base
I started by cutting up the cardboard boxes and forming the basic shapes of the houses. This was trickier than I expected! Getting the angles right and making sure everything was sturdy took some trial and error. Lots of hot glue was involved. I definitely burned myself a few times, not gonna lie.
Adding the Details
Once the basic structures were done, it was time for the fun part: decorating! I painted everything first, then went to town with the glitter and other embellishments. I used popsicle sticks for the window frames and bottle caps for some of the roof details. It was all about getting creative with what I had.
The Finishing Touches
Finally, I added some cotton balls around the base to look like snow. I even sprinkled some extra glitter on top for that extra sparkle. And… done! It’s not perfect, but I’m pretty proud of how it turned out. It definitely adds some festive cheer to my living room.
It was a messy, sometimes frustrating, but ultimately super rewarding project. If you’re looking for a fun DIY project, I’d say give it a shot! Just be prepared for a lot of hot glue and glitter… everywhere.